This guide goes through setting up SSH keys on macOS Mojave 10.14 back to Mac OSX 10.11 and also a secure password-less SSH connection between a local macOS workstation and a remote server also running a Linux variant operating system.
The process requires generating a public and private key on the local computer and then adding the public key to the remote servers authorised list. What is great about this is that it allows a password prompt free session, handy for a lot of uses.
First thing that you need to do on your macOS machine is to create a directory that will store your SSH keys. Then you will generate a public and private key for your account, launch the Terminal and punch in some commands:
Create a .ssh Directory
Change to the home directory
cd ~/
Create a SSH directory name .ssh and move into it
mkdir .ssh ; cd .ssh
Make sure that the file permissions are set to read/write/execute only for the user
chmod go-rwx .ssh
Create your private and public key, the blank quotes at the end of the command gives the private key no password, so allowing for passwordless logins!
ssh-keygen -b 1024 -t rsa -f id_rsa -P ""

keygen-generate-ssh-keys
Change into the .ssh directory and list the contents of that .ssh directory
cd .ssh ; ls -la
 -rw-------   1 username  staff   887B Jun  1 11:35 id_rsa
 -rw-r--r--   1 username  staff   239B Jun  1 11:35 id_rsa.pub
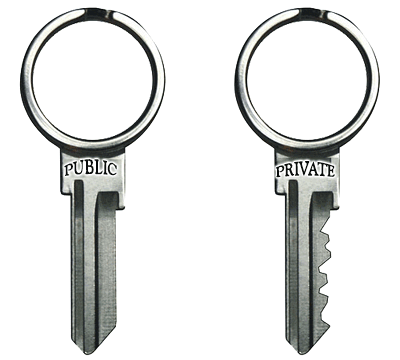
Thats your SSH keys created, the private key is the id_rsa and the public one is the id_rsa.pub, don’t give out the private one always keep that one only on your local machine.
Sharing the Public Key
Create an authorized_keys in the .ssh directory of the remote computer that you want to connect to.
touch authorized_keys
You can create automatic logins by adding the contents of your public key to the authorized_keys file on the remote device.
To see and copy your public key use the cat command and copy the contents:
cat id_rsa.pub
ssh-rsa  AAAAB3NzaC1yc2EAAAABIwAAAIEA2CtcmYRmQJX04pZnrTPrU68BZMk9YlbI6CUcFUp
RVw29p V7mxW16wd/q9z7n+xytqdp4wsAc/7+24ZVikMhhRetEGr3LSBz5gm9980oTPEy61+pDP2y
jafShe5xcszIUnQ rN1ohCuF7Y/a/TG6G6gaJGcLexUiwfTRtCAbpuzfU= username@yourcomputer.local
On the remote computer if needed, change the permssions on the authorized_keys file to write to add the public key, on a new line paste in your public key, and change permissions back to read only after for security.
Allow write on authorised_keys
chmod u+w authorized_keys
Paste the entire id_rsa.pub content with vi or nano into the authorized_keys file, if using nano use the -w flag to not use incorrect line breaks.
If the remote host does not have an “authorized_keys” file simply create one and after the public key is pasted in don’t forget to takeaway write permissions.
chmod u-w authorized_keys
Going Both Ways
So now when you connect via SSH no password is prompted as the remote computer has your public key which is only decrypted by your private key held in your local .ssh/ directory. If you want the communications to be bilateral then repeat the process in the opposite order between the two.
Now the two computers can securely connect with no password prompting, making it ideal to script between the two for file copies or back ups.
Doing it Quicker
Now instead of typing in
ssh root@thatdomain.com
Make an alias in your bash shell you could alias it to
alias now='ssh root@thatdomain.com'
Reload the the shell
source ~/.bash_profile
Then all you have to type in is the alias
now
The post Generate SSH Private and Public Keys in macOS Mojave appeared first on Coolest Guides on the Planet.